Felt iPod Cozy
You'll need:
-appox. 1/4 yard of felt (I used 100% wool)
-contrasting thread
-6" elastic cord
-1 button
-the pattern, download it here
-freezer paper, trimmed to 2 8 1/2 x 11 sheets (optional)
If you hate pins as much as I do and you are using wool felt, you can print your pattern directly on to freezer paper, otherwise print it on to normal office paper. Cut the pattern out. If you notice that the pattern in the photos does not match the pattern you downloaded, you are very observant. I improved the pattern just for you.
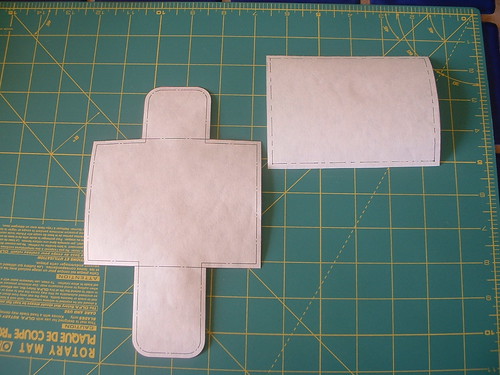
Cut two double thick rectangles out of the felt. They should be bigger than your pattern pieces, since you'll sew the two layers together before cutting them out. (This will give you neater edges that match up perfectly between the layers.)

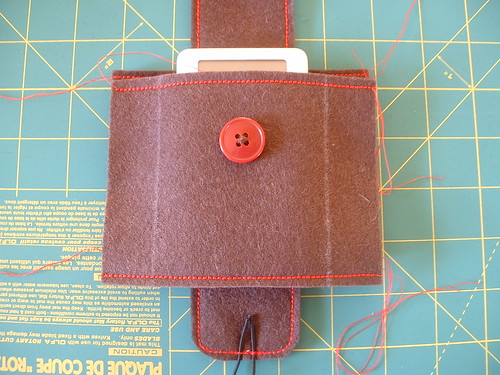
Now, cut one (and only one) of the back layers like so:
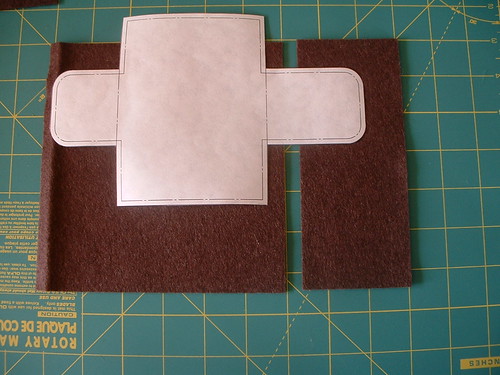
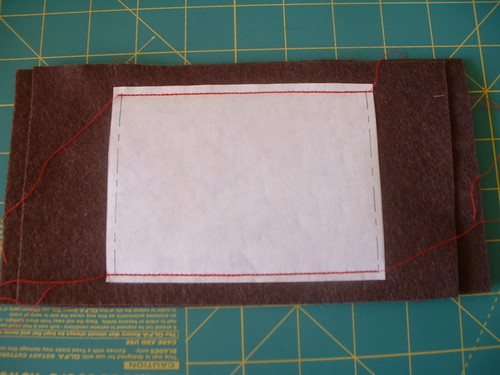
This cut will form the pocket in the back of the cozy for your earbuds. Line the back pattern piece up with the felt so that the longer tab lines up with the cut you just made. Pin or iron the pattern in place. (Only iron the freezer paper to wool felt- I haven't tried it with acrylic felt, but I imagine it does not take well to ironing.)
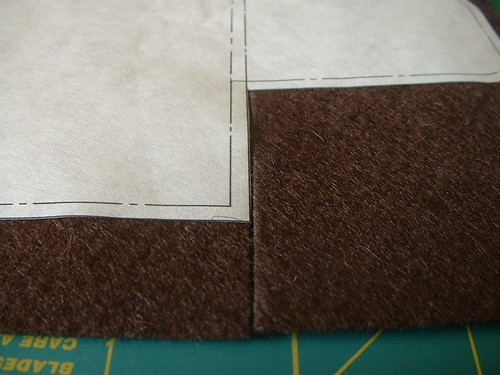
Sew seam 1 through the pattern and the cut layer of felt only.

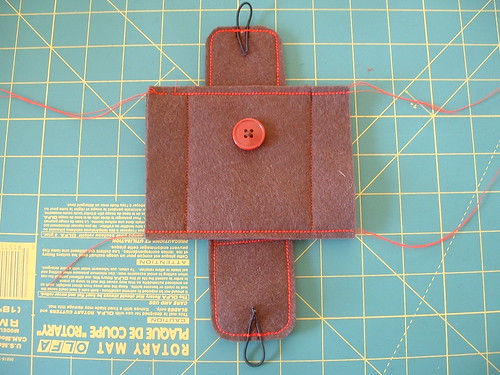
Add the second layer of felt for the back and sew seams 2, 3, and 4. If your machine doesn't like felt (like mine), you can add another layer of paper to the back of the whole mess and sew through paper on both sides. Additionally, if you are feeling particularly coordinated, you can slip your elastic into the edges of the tabs and sandwich them while you sewed seams 2 and 3. Or you could do that later. I did it later. But, I am lame.
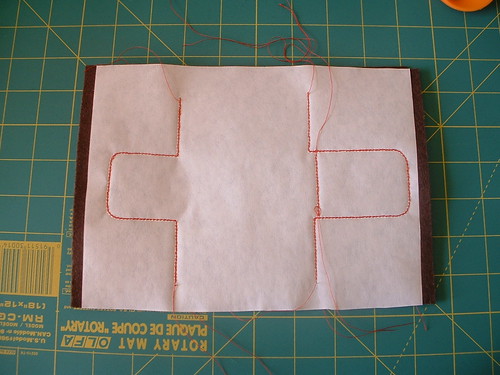
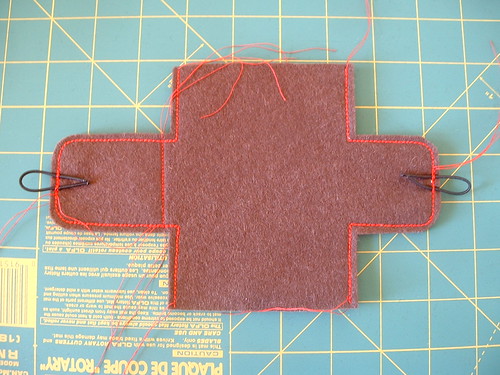
If you used paper on the back, carefully tear it away:

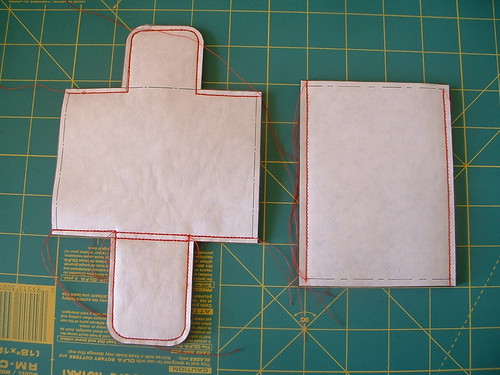
Stack both pieces of front felt and sew the seams:
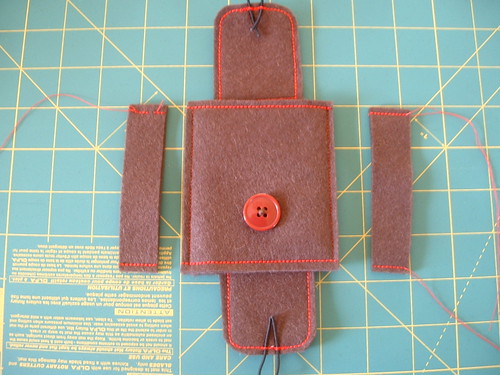
Following the pattern, cut your felt out. Admire your work so far:
Again, carefully tear away the paper pattern pieces. Cut your elastic into two 3" pieces and singe the ends so they don't fray. Fold them in half and sew one to each of the tabs on the side that doesn't have the pocket on it. The elastic should stick out about 1" from the ends of the tabs.
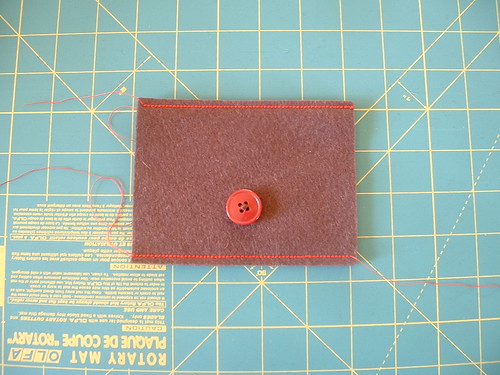
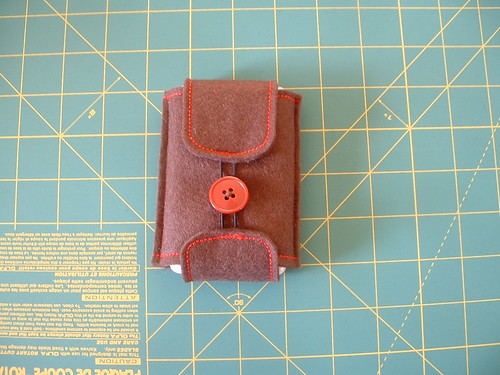
Sew the button on to the center of the front, 1 1/4" from the bottom. This is a good time to tie off all of your thread ends and bury them in the felt.
Fit the cozy to your iPod. Place your iPod between the layers and snuggle it in. Mark where you will sew the layers together. (Mine is a 20GB fourth generation and I sewed the seam about 1" from each edge.)
Sew your side seams. Mine are crooked. Try to avoid that.
Slice off the extra felt on the sides. Tie off and bury any thread ends left.
Cozy up.
Feel free to email me (rebeccabeagle@gmail.com) or leave a comment if this tute sucks, or if you have any questions.
4 comments:
I think this looks seriously cool. I especially love the elastic loops up over the button. I don't have an IPOD, but I could see making something like this for my..*gasp* brand name MP3 player :)
Very cool tutorial, thanks for sharing.
I seriously adore this!! I;m going to have to make one for my new nano!
I really loved your tutorial, it's an original and beautiful ipod cover. I really want to try it, I don't have an ipod so I'll have to adapt the pattern. I promise I'll show you the result :)
Thank you!
This tutorial looks very helpful!
Post a Comment