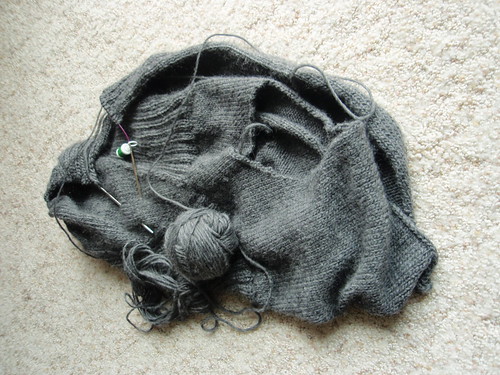
See I do knit... piles of grey yarn. I'm 20 rows from finishing the skirt of my Tilted Duster from last fall's Interweave, after which I just have to do the collar and (ugh) sew in the sleeves. And then I'll have me another warm, 100% wool sweater just in time for spring!
But on to more exciting things: blocking!
For the longest time, I didn't really get blocking. When I started knitting sweaters and the like, I begrudgingly laid out my wet knits on a towel and called it blocking. Then I was faced with the unfortunate Puff-Sleeved Feminine Cardigan results. I would save the project by blocking! I had to step my blocking up a notch with measuring and pinning to a futon mattress. The cardigan was not magically improved, but I made a stride forward in learning to block.
Lately I've been embracing the blocking. It actually really appeals to my
How I Block
This technique might be overkill for something that just needs a little shaping or stitch evening, but it works great when you need to
Supplies:
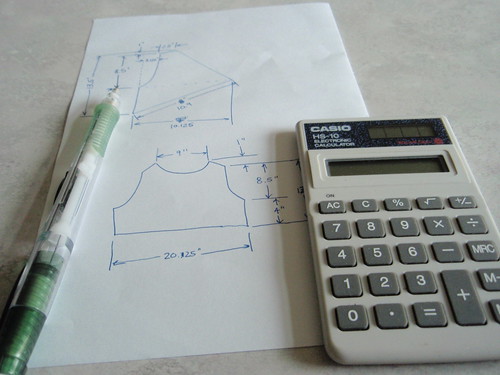
Pen, paper, calculator
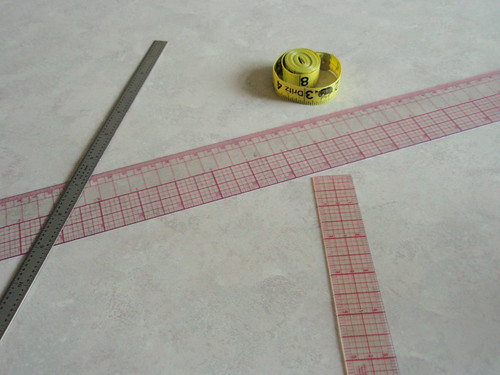
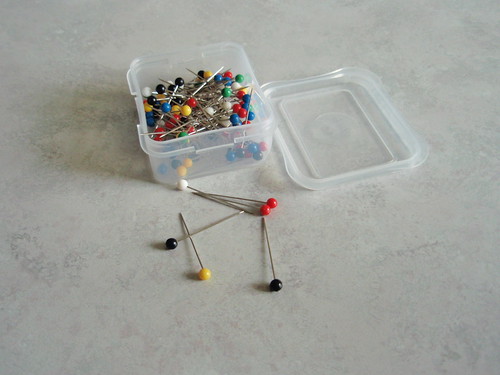
Measurers (I actually do use all four of these sometimes)
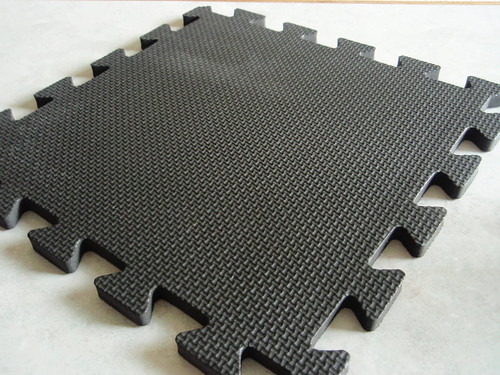
Foam Mat (They can be found with the exercise gear or in the toy section of your favorite retailer and are waaaaay cheaper then the blocking boards marketed to knitters, are configurable, and allow you to move your blocking knitting.)
And pins (I just use normal sewing pins.)
Technique:
I start by popping my knitting into a sinkful of water with a little no-rinse woolwash. (If I was using, say, alpaca which I am leery of soaking, I'd skip this step and pin it out dry and spray it with a water bottle as a last step.)
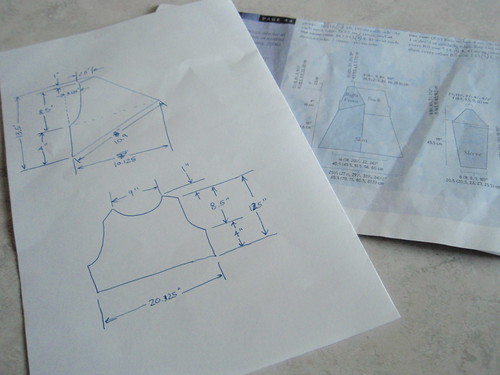
While the knitting is soaking, I take the finished dimension sketch from the pattern and resketch it using only the dimensions I need for the size I'm working on. Then, I calculate any dimensions that are not spelled out in the pattern that I think will be useful. This part is a little brainwork, but it really pays off when you start placing your pins.
Then I'll begin the prepinning. I like to start by placing all of the corner pins. If I was blocking a square gauge swatch, for example, I'd measure and place a pin at the four corners. For a complicated shape, this step may take a lot of time and measuring, but it's worth it in the end.
Next I'll pull my knitting out of it's bath and partially dry it (squeeze as much water out as I can- without wringing or stretching it, then lay it on a towel, roll the towel up, lay it on the floor and
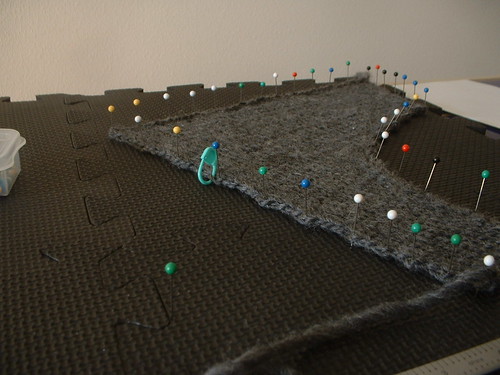
Now I'll start pinning the knitting to the mat, beginning with the corner pins that are conveniently already laid out. From here on out, it's just pin, pin, pin. I lay a ruler along two corner pins and use it to line a pin up on the middle of the edge. And then I fill in the side with pins until everything is nice and flat and the batwing effect of stretched knitting is minimized. I just fudge the curved edges, pinning them by eye.
Once everything is sufficiently pinned, you just let 'em dry. I like to make sure everything is very, very dry before I take out my pins.
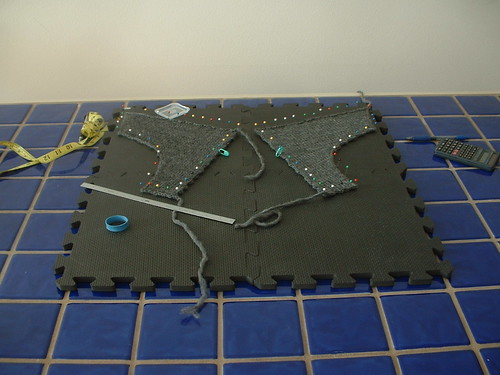
Happy blocking!
No comments:
Post a Comment